If you’ve ever created a LinkedIn carousel, you know how much time it can eat up.
Writing the slides. Editing the layout. Making the visuals look decent in Canva. Formatting, uploading, tweaking fonts, exporting…
I used to spend 2–3 hours on a single carousel—despite being a fast writer.
And outsourcing didn’t help. Too much money and hassle.
So I built a fast, repeatable system that lets me create strategic, on-brand carousels in 15–20 minutes—without starting from scratch or sacrificing quality.
This is exactly how I do it, step by step.
To create LinkedIn carousels efficiently, I start by generating content with my brand AI system, convert it to carousel format using Gamma AI, then fine-tune the design in Canva. This workflow saves me hours while maintaining my unique brand voice and message.
Table of Contents
ToggleStep 1: Start with on-brand content
Everything starts with your message.
I don’t jump into design tools or AI generators right away. I start by creating the actual post I want to share—the full version of what I want to say.
Here’s how:
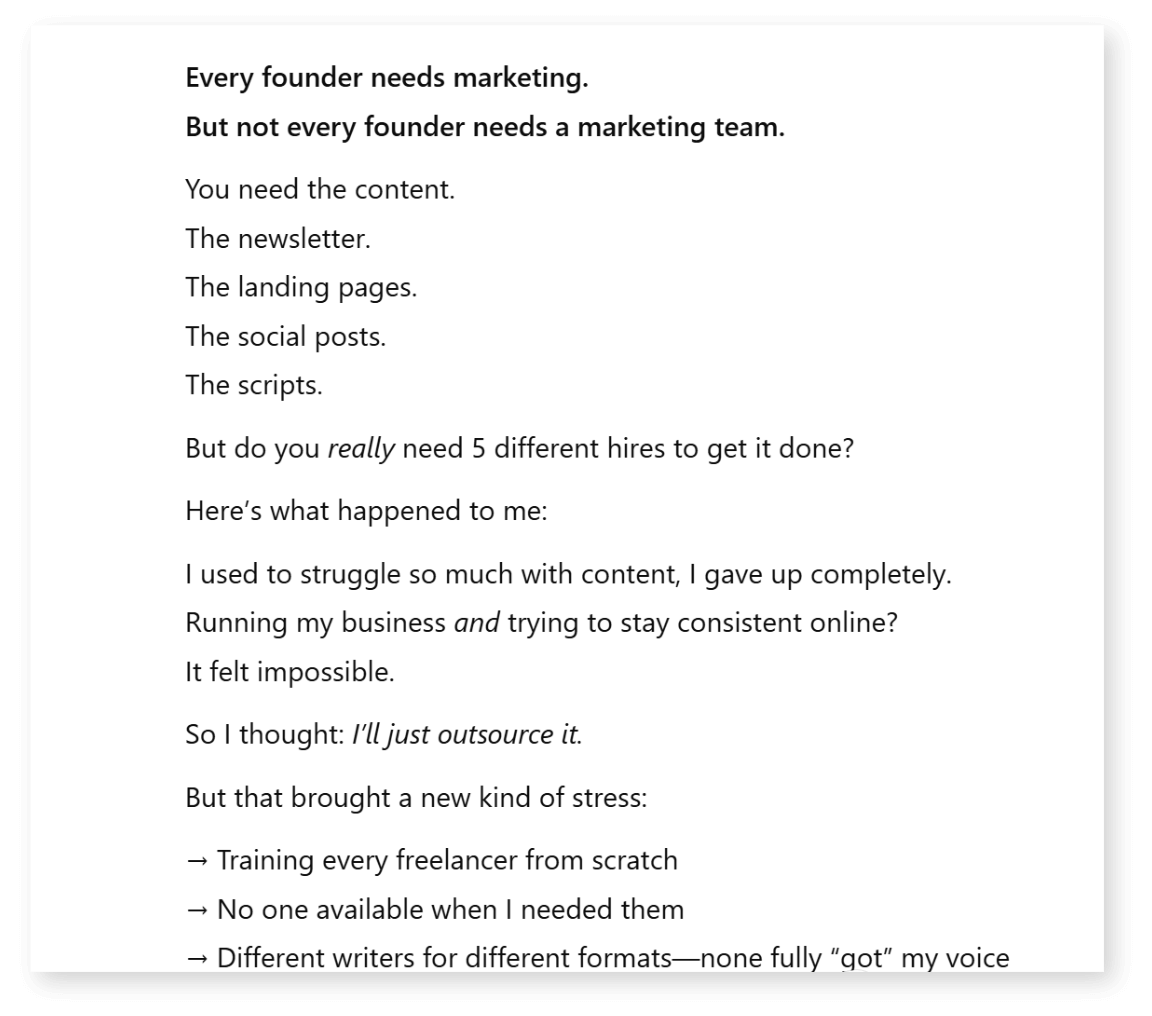
I start with a fully written post, created using my own Brand ContentGPT.
This gives me a clean, powerful message that already reflects:
- My voice and tone
- My strategic point of view
- My credibility or backstory
- A soft CTA mapped to my funnel (TOFU, MOFU, or BOFU)
Sometimes this content comes from:
- A voice note I transcribed and refined with AI
- A client session or live training
- A recent post I want to expand on
The goal here is to write the post as if you’re going to publish it as a text post. Then repurpose from there.
Step 2: Turn the post into a carousel script
I copy that post and paste it into my Brand Repurpose GPT —a custom-trained ChatGPT designed to reformat my content (not rewrite it).
I literally prompt: “Turn this into a LinkedIn carousel.”
It breaks the post down into a logical structure:
- Slide 1: Cover/headline (based on hook)
- Slides 2–4: Framing the problem
- Slides 5–7: Shifting belief or insight
- Slides 8–9: Solution or CTA
Instead of summarizing or flattening my voice, it keeps my tone intact—just sliced into slides for clarity and flow.

Tip: If your initial post has a solid story arc, this step takes 60 seconds.
I tell it: “Turn this into a LinkedIn carousel.”
It instantly breaks it down into a full carousel structure:
- A headline-style cover slide
- Slides with a narrative arc: “Problem → Shift → Solution”
- A soft but clear call-to-action at the end
What I love is: it doesn’t rewrite my message. It just repackages it for the carousel format—so it’s still 100% me.
Step 3: Paste into Gamma and structure the project
I copy that carousel script and head to Gamma, the AI tool I use to generate the slide layouts.
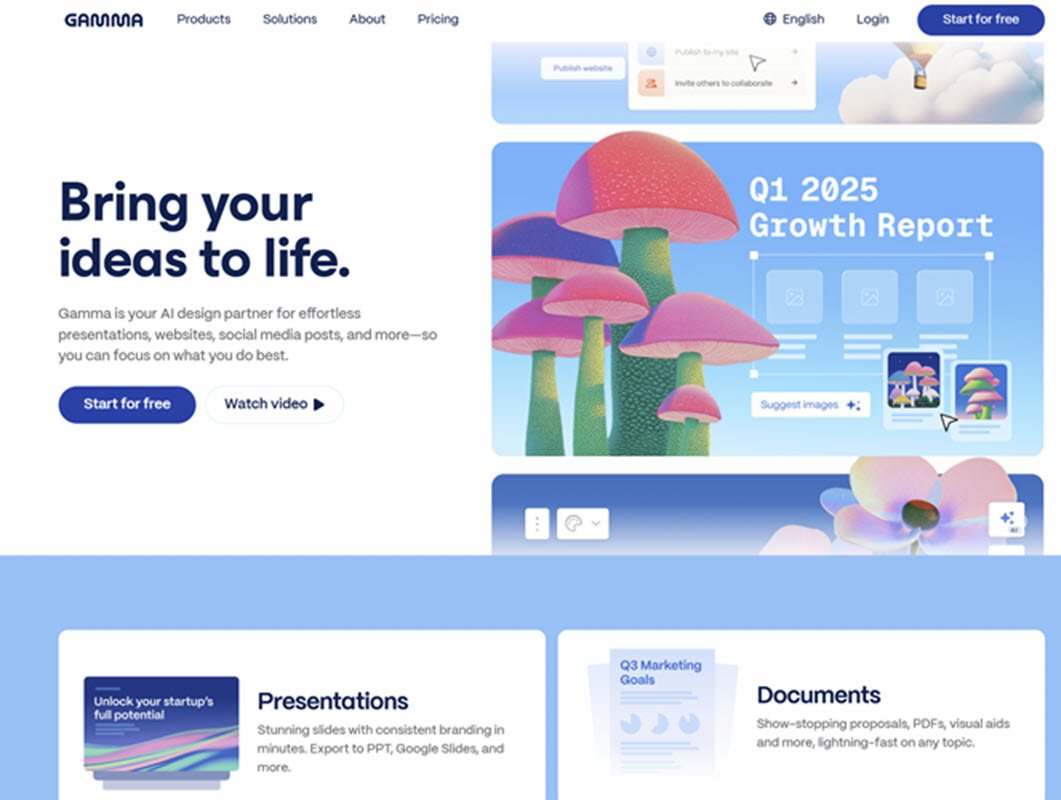
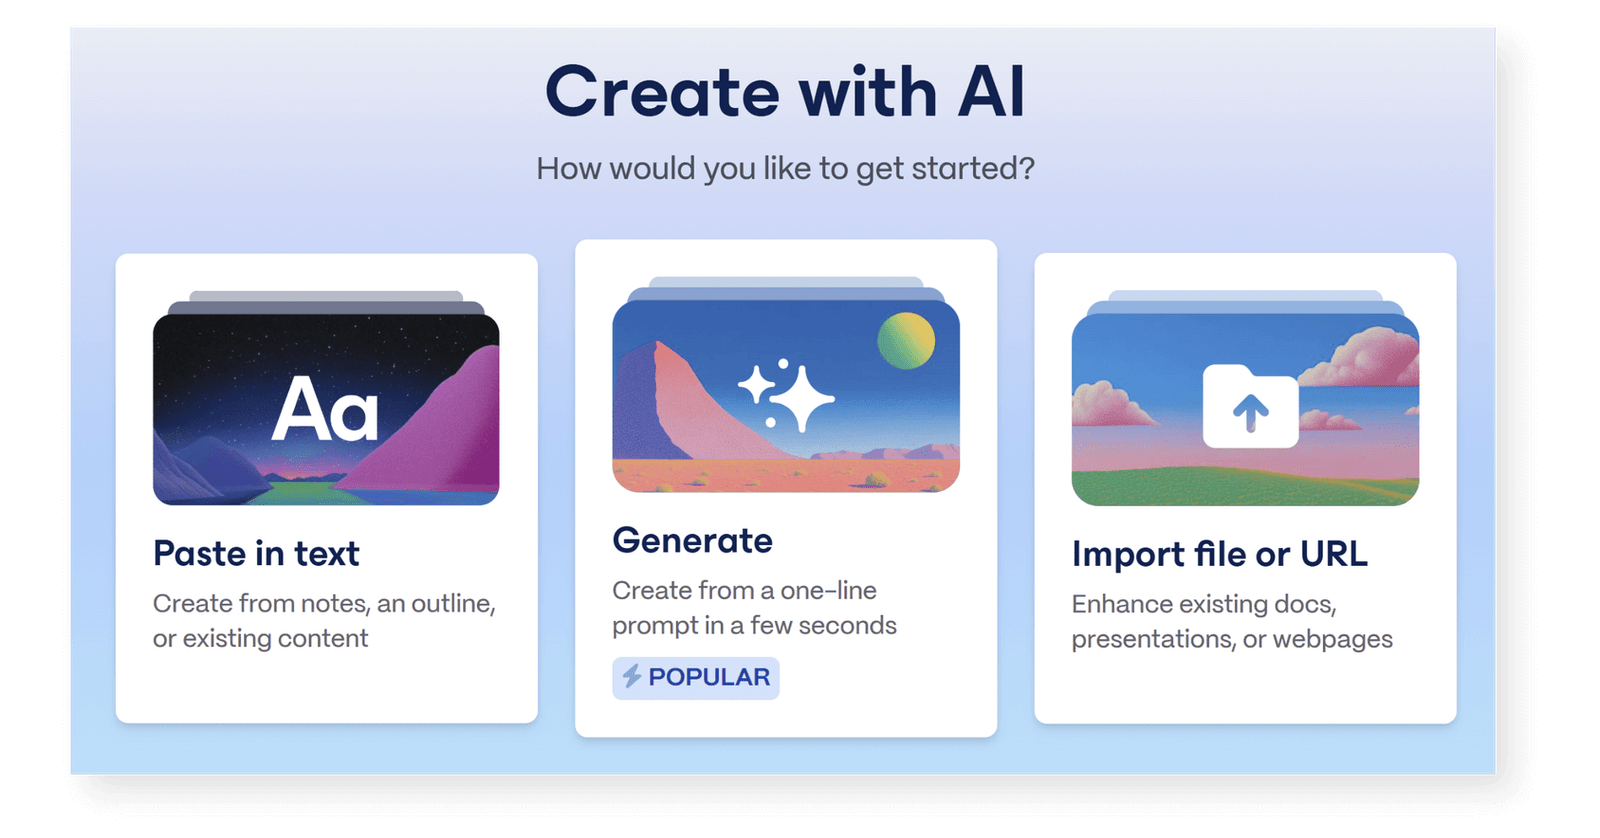
In Gamma, I start a new AI project and set the format to:
- Input: Text
- Format: Social
- Orientation: Portrait (ideal for LinkedIn and Instagram)
- Structure: Card-by-card (to maintain control over each slide)
I paste the full script and click generate. Gamma instantly lays it out into slides with clean formatting.
Why I love this: It speeds up the design process without defaulting to boring visuals or overwriting your content.
This gives me a raw but structured version of the carousel inside Gamma.

Create presentations, webpages, & social posts with AI
- Website builder
- No design skills reqd.
- AI image generation
- 400 AI credits free
- Unlimited gammas
- PPT/PDF export
Step 4: Customize content, length, and visuals
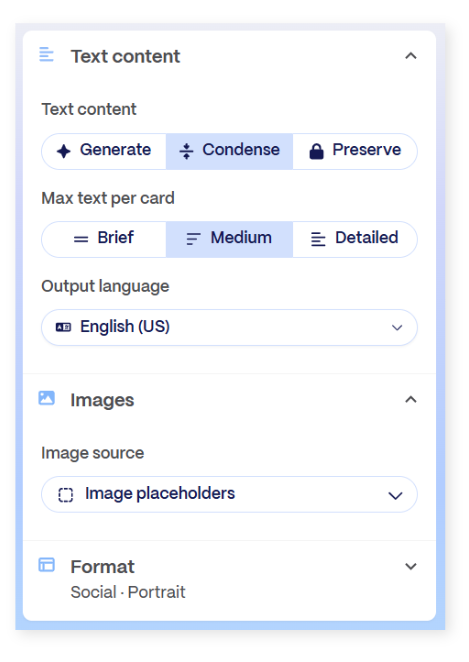
After the initial layout, I adjust Gamma’s settings to refine the output:
- Text length: I use “medium” for enough breathing room but not too wordy.
- Style: “Condense” mode removes fluff while keeping my tone intact.
- Image inclusion: I turn visuals off for the first pass so it focuses only on messaging.
This keeps the slides clean and lets me refine the copy before adding distractions.
Pro tip:
I’ll occasionally regenerate individual slides if the layout feels clunky or text doesn’t break well.
Step 5: Pick my theme and generate final slides
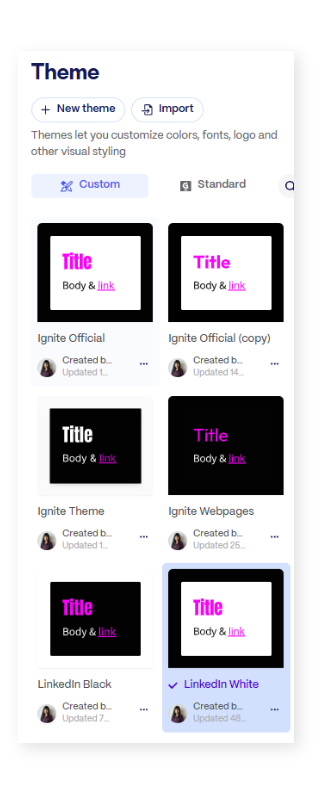
I’ve saved a few go-to themes inside Gamma:
- LinkedIn Black: White text on black, clean and high-contrast
- LinkedIn White: Black text on white, light and flexible for images
Once I apply the theme, I click “Generate.” The result is a simple, branded carousel layout I can export or tweak.
At this point, I don’t worry about perfection. This is my first draft of visuals, and I finished the design in Canva.
Related: Time-saving Canva Pro features I love.
Step 6: Export to Canva using PPT format
Here’s a trick: never export your carousel from Gamma as PDF. Always export Gamma decks as PowerPoint (.PPT).
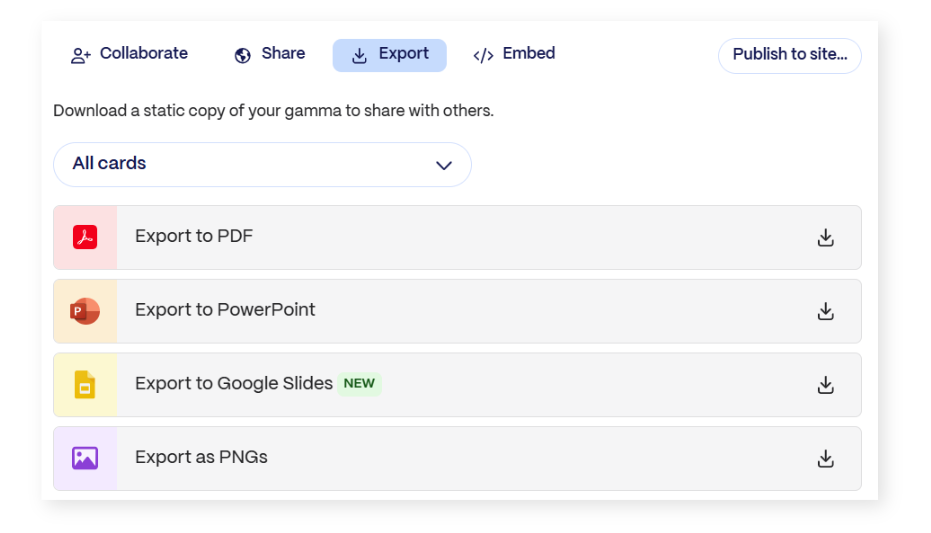
This lets me upload directly into Canva and edit text, spacing, colors, and visuals without redoing the entire thing.
Steps:
- In Gamma, click the three dots → Export → PowerPoint
- Download the .PPT file
- Upload to Canva
This gives you fully editable slides in Canva without font glitches or weird spacing.
Want to save even more time?
Pro Tip:
You can use Canva Brand Kits to store branded fonts, colors, and layouts.
Step 7: Design the carousel cover image
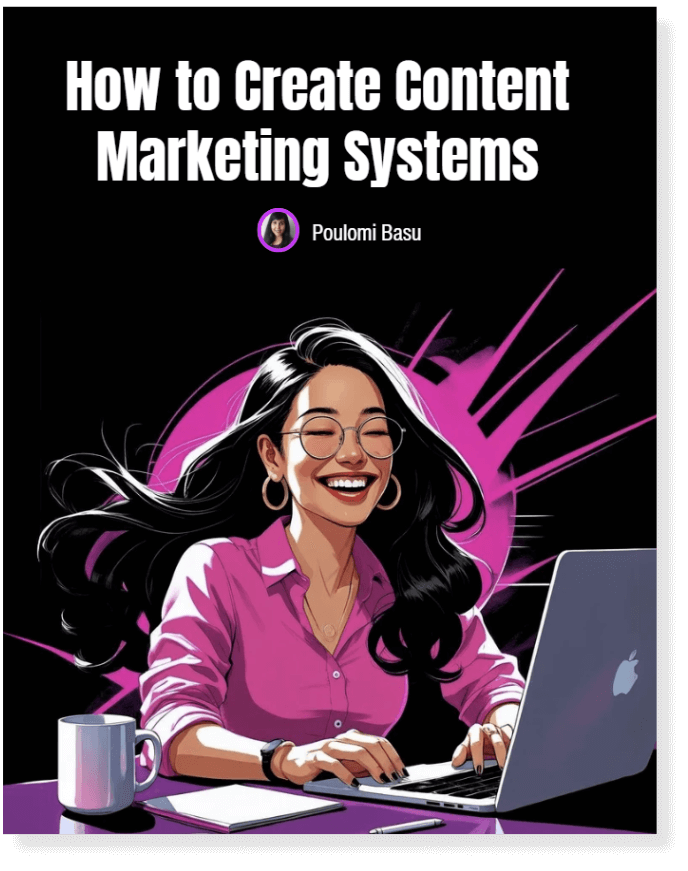
This part used to take me the longest. Now it’s one of the fastest—and most consistent—steps in my workflow.
Here’s exactly what I do to get the visual I want without wasting time designing from scratch:
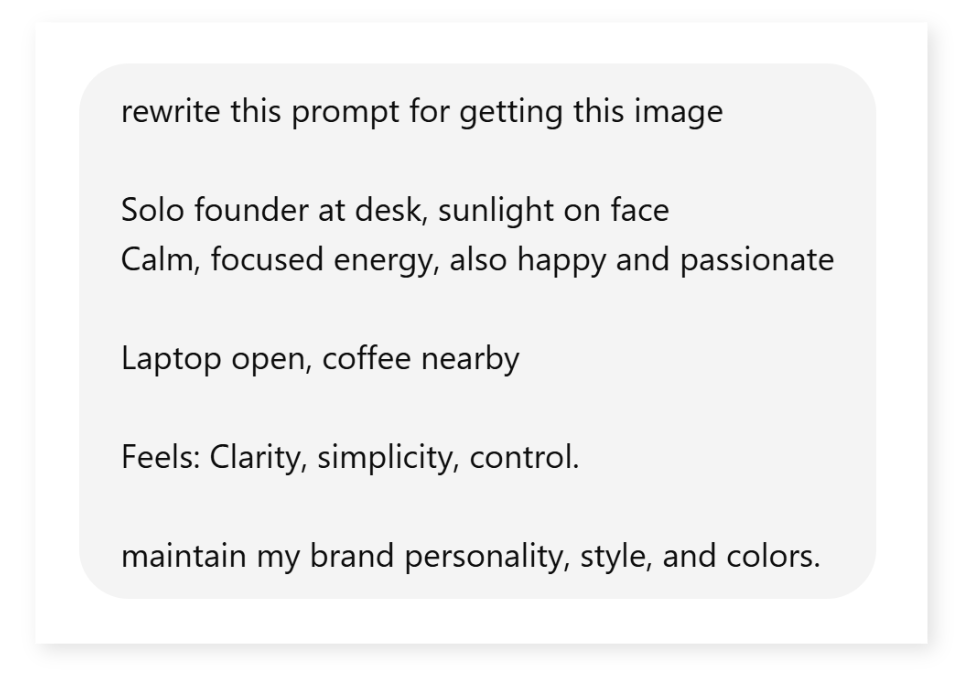
1. Reverse engineer the style
- I find an image I already love—usually from a past carousel
- I drop it into ChatGPT and ask: “Reverse engineer a prompt to recreate this style using Canva AI”
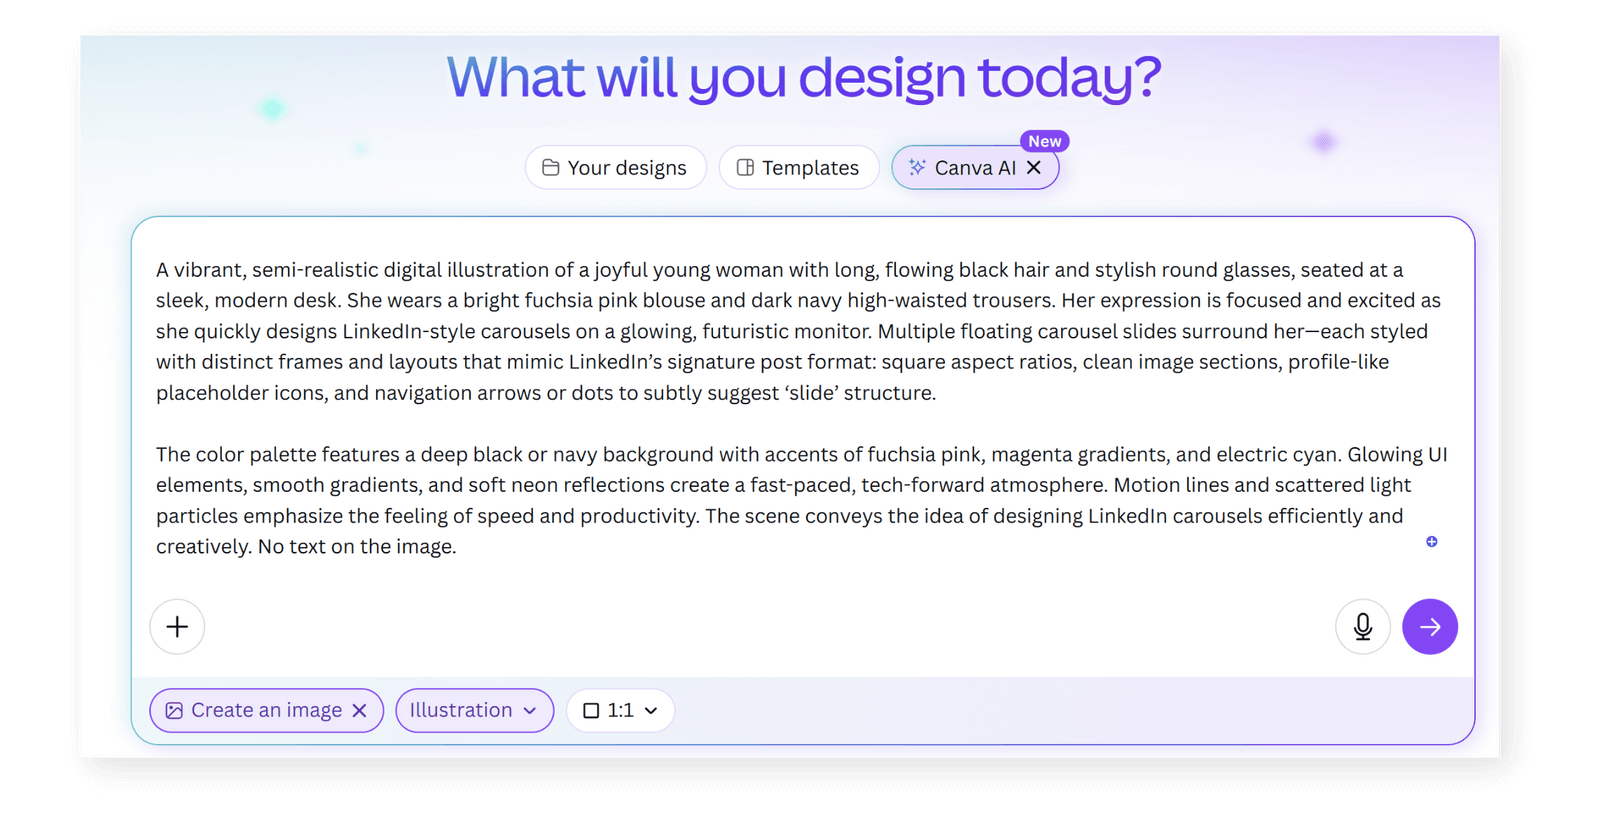
2. Generate a matching image
- I take that new prompt and paste it into Canva’s AI Image Generator
- I use the “illustration” or “flat vector” style, always in 1:1 square ratio
- Once it generates a few options, I pick the one that fits the mood of the carousel
3. Clean up and expand the image
- I upscale it inside Canva to improve clarity
- I use Magic Expand to extend the image horizontally so it fills the full cover width

Get access to all advanced Canva tools & content for 30 days
- Background Remover
- One-click Resize
- Video Editing
- 100+ Million Stock Media
- Content Planner
- AI tools - Magic Studio
4. Replace and customize the cover slide
- I duplicate the cover slide from a previous carousel (so fonts, colors, and layout are already set)
- I swap the image with the new one I just generated
- I adjust positioning and size to make it balanced and centered
- I add a bold, stacked headline (2–3 lines max) and include my name or mini logo at the bottom corner
Now I have a brand-aligned, polished cover image that looks cohesive with my feed and takes me less than 5 minutes to pull together.
Step 8: Structure the body slides
This part is already templated inside Canva, so I simply tweak the text for each slide. Here’s what I watch for:
- Keep 1 key point per slide—usually 1–2 sentences
- Maintain font sizing, line height, and white space from previous carousels
- Use consistent text alignment (centered or left-aligned—never both)
- If needed, drop in simple line dividers or icons—but only if they support clarity
I reuse the slide layout from a past carousel, so all the spacing, font settings, and card rhythm is already baked in. No design thinking required.
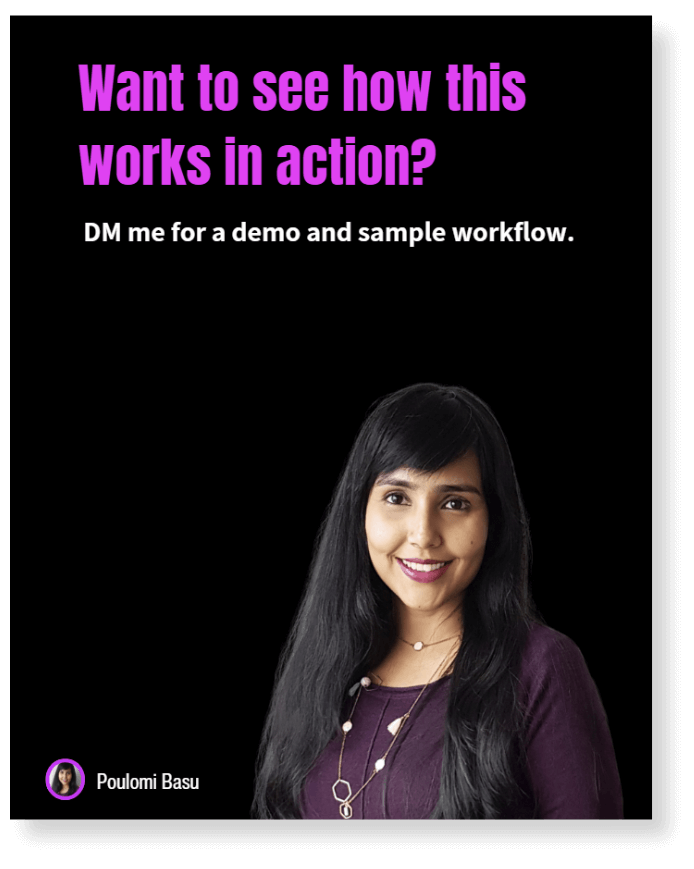
Step 9: Copy the CTA slide from a previous carousel
I never design this slide from scratch.
Here’s how I shortcut it:
- I open a recent carousel with a CTA that matches the offer or vibe of the current post
- I duplicate the final slide and drag it into the new project
- I update only two things: the headline and the CTA copy
What stays the same:
- My headshot or brand illustration
- The font styling, background, layout, and social proof footer
My go-to CTA text varies depending on funnel stage:
- TOFU: “Want this workflow? DM me and I’ll send it over.”
- MOFU: “Need help making this your own? Ask me about BrandAI.”
- BOFU: “Ready to build this with me? Let’s talk.”
Because I’m always copying from a polished version, this takes 60 seconds—and keeps my branding tight.
Step 10: Review, download, and publish
Before hitting publish, I run a quick checklist:
- Is the messaging still 100% me?
- Do the slides have enough contrast and whitespace?
Then I export from Canva as PDF and head to LinkedIn:
- Paste the original post as the caption
- Upload the carousel PDF as a “document” post
That’s it. Start to finish? Usually 45 minutes, instead of 3-4 hours like before.
My tips for high-performing LinkedIn carousels
- Use fonts that are available across platforms (less formatting pain)
- Save your Gamma themes so your look stays consistent
- Stick to 1–2 colors max for brand clarity
- Create a branded cover and final CTA slide you can reuse
- Keep your tone conversational and human, not too polished
- Don’t overcrowd slides—keep 1 idea per slide
- Let your message lead—design is just the container
- Reuse your CTA and cover slide templates to save time
Final Thoughts
Carousels don’t have to take forever.
When you start with your message, not just a tool, you stay consistent, credible, and creative.
You need a workflow that starts with your unique message, then lets AI take care of the formatting.
This system helps me show up on LinkedIn consistently—without burning out or sounding like everyone else.
👉 Want the same workflow?
DM me for a sample or grab it via the link in the description.
Other content creation tutorials you may like:
AI & Content Creation
- How to use AI to write blog posts for SEO
- 8 AI video tools for content creation process
- ChatGPT prompts for content creation
- Repurposing content with AI
Canva & Design
- Time-saving Canva Pro features I love
- How to group on Canva
- How to curve text in Canva
- How to draw on Canva
Content Strategy


